
Most exposure triangle tutorials start with a diagram, then immediately dive into stops, f-numbers, and reciprocal relationships. By paragraph three, you're doing arithmetic. Let's skip all that.
You don't need to calculate anything to understand exposure. You need to understand three cause-and-effect relationships, and how they trade off against each other. That's the whole concept — no math required.
By the end of this article, you'll know exactly what each corner of the exposure triangle does, how changing one affects the others, and how to choose settings for the photo you actually want to make.
The Big Picture: What Exposure Actually Is
Exposure is simply how bright or dark your photo turns out. A photo is properly exposed when it looks the way you want it to — not too dark (underexposed), not too bright (overexposed). That's it. There's no objectively "correct" exposure. There's only the exposure that serves your creative intent.
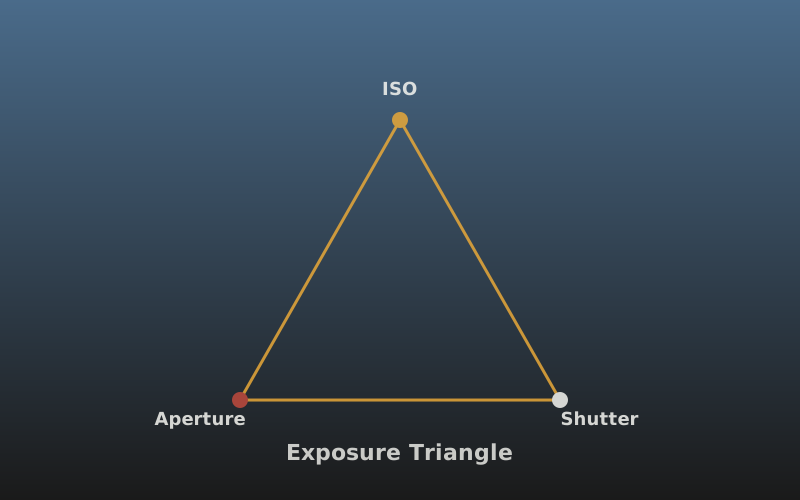
To control brightness, your camera has three tools. Each tool does two things: it changes the brightness of the image, and it changes a creative quality of the image. The exposure triangle is just the relationship between these three tools.
The Three Sides of the Triangle
Side 1: Aperture — How Wide the Door Opens
Think of your lens as a window with adjustable curtains. The aperture is how wide those curtains are open. Open them wide, and lots of light comes in. Close them down, and less light gets through.
Brightness effect: Wider aperture (lower f-number like f/1.8) = brighter image. Narrower aperture (higher f-number like f/16) = darker image.
Creative effect: Aperture controls depth of field — how much of your photo is in sharp focus. Wide apertures create that blurry background (shallow depth of field) that makes portraits pop. Narrow apertures keep everything sharp from front to back (deep depth of field), which is what you want for landscapes.
If you want to go deeper on this specifically, our aperture and depth of field guide breaks it down with real-world examples.
Side 2: Shutter Speed — How Long the Door Stays Open
Now think of the same window, but instead of adjusting the curtains, you're opening and closing the whole window quickly or slowly. Shutter speed is how long the camera's sensor is exposed to light.
Brightness effect: Longer shutter speed (like 1 second) = brighter image. Shorter shutter speed (like 1/1000 second) = darker image.
Creative effect: Shutter speed controls motion. Fast shutter speeds freeze action — a bird mid-flight, a splash of water, a sprinter crossing the finish line. Slow shutter speeds blur motion — waterfalls turn silky, car headlights become light trails, stars trace arcs across the sky.
Side 3: ISO — How Sensitive the Sensor Is
ISO is the odd one out because it doesn't involve light entering the camera. Instead, it controls how sensitive your camera's sensor is to whatever light does arrive. Think of it as a volume knob for light.
Brightness effect: Higher ISO (like 3200) = brighter image. Lower ISO (like 100) = darker image.
Creative effect: ISO doesn't have a positive creative effect. It has a negative side effect: higher ISO introduces digital noise — grainy, speckled texture that degrades image quality. Low ISO gives you clean, smooth images. High ISO is a compromise you accept when you need more brightness but can't open the aperture wider or slow the shutter further.
The Key Insight
Every side of the triangle affects brightness AND a creative quality. When you change one to fix brightness, you're also changing the look of your photo. That's why exposure is always a trade-off, not a calculation.
How the Three Sides Trade Off
Here's where most people get confused: you can achieve the same brightness with many different combinations of settings. For example, these three combinations might all produce a properly exposed photo of the same scene:
- f/8, 1/250s, ISO 100
- f/4, 1/1000s, ISO 100
- f/8, 1/500s, ISO 200
All three give you the same brightness. But they give you different photos. The first has medium depth of field and moderate motion freezing. The second has shallow depth of field and fast motion freezing. The third has medium depth of field, moderate motion freezing, and a bit more noise.
This is the entire game. You choose the combination that gives you the creative look you want and the right brightness. You're not solving for one variable — you're balancing three.
A Practical Decision Framework
Instead of memorizing exposure charts, use this decision process when you're shooting:
Step 1: Set ISO first — as low as possible. Start at ISO 100 (or whatever your camera's base ISO is). Only raise it later if you're forced to. You want clean images, so begin with the assumption that ISO stays low.
Step 2: Choose aperture based on your creative goal. Do you want a blurry background? Open up to f/1.8 or f/2.8. Do you want everything sharp? Stop down to f/8 or f/11. This is your primary creative decision — it determines the look of the photo.
Step 3: Let shutter speed fall where it lands. Once you've set ISO and aperture, the camera's light meter tells you what shutter speed will give you correct brightness. If you're in aperture priority mode (A or Av), the camera sets it automatically. Check whether that shutter speed is fast enough to freeze motion (and fast enough to handhold without blur). If it's too slow, that's when you raise ISO.
Step 4: Adjust ISO as a last resort. If your shutter speed is too slow to handhold or freeze your subject, and you can't open the aperture any wider, raise ISO until the shutter speed becomes usable. Accept the noise — a sharp, noisy photo is always better than a clean, blurry one.
You're always trading something. The art of exposure is choosing which compromise serves the photo.
Common Scenarios
Portrait with Blurry Background
Open aperture wide (f/1.8–f/2.8) for shallow depth of field. Shutter speed will be fast because lots of light is coming in. ISO can stay low. The trade-off: you're prioritizing background blur, which means less of your subject is in focus, so focus carefully on the eyes.
Landscape Where Everything Is Sharp
Stop down to f/8–f/11 for deep depth of field. Shutter speed will be slower. If you're handholding and it's too slow, raise ISO. Better yet, use a tripod so you can keep ISO low and shutter speed long without worrying about camera shake.
Sports or Wildlife (Freeze Motion)
Fast shutter speed is the priority (1/1000s or faster). To get there, open the aperture wide and raise ISO as high as needed. You'll get noise, but a frozen bird in flight with noise beats a blurry bird without.
Low Light Indoors
This is where all three sides get pushed. Open aperture wide, slow shutter to the slowest you can handhold (around 1/60s with a normal lens), then raise ISO to whatever gets you correct exposure. Embrace the noise — modern software like Lightroom can reduce it significantly in post. Learn more in our RAW vs JPEG guide, which explains why RAW gives you more room to recover noisy shadows.
Stop Worrying About the Numbers
Here's the liberating truth: you don't need to know that each full stop doubles or halves the light. You don't need to memorize the f-stop sequence. You need a gut feeling for what happens when you turn each dial, and that comes from shooting — not from studying charts.
Spend a week shooting in aperture priority mode. Change the aperture and watch what happens to shutter speed. Notice how the depth of field changes. Then switch to shutter priority and do the same. Within a few hundred frames, you'll have an intuitive feel for the triangle that no tutorial can give you.
The exposure triangle isn't a math problem. It's a set of trade-offs. Understand the trade-offs, and you've understood exposure.
Key Takeaways
- Aperture controls brightness AND depth of field (background blur).
- Shutter speed controls brightness AND motion (freeze or blur).
- ISO controls brightness AND noise — always keep it as low as possible.
- Many setting combinations produce the same brightness but different creative results.
- Set ISO low, choose aperture for your creative goal, let shutter speed fall, raise ISO only if needed.
Master the Fundamentals
Exposure is just the beginning. Explore our full library of shooting technique tutorials.
Browse Technique Guides